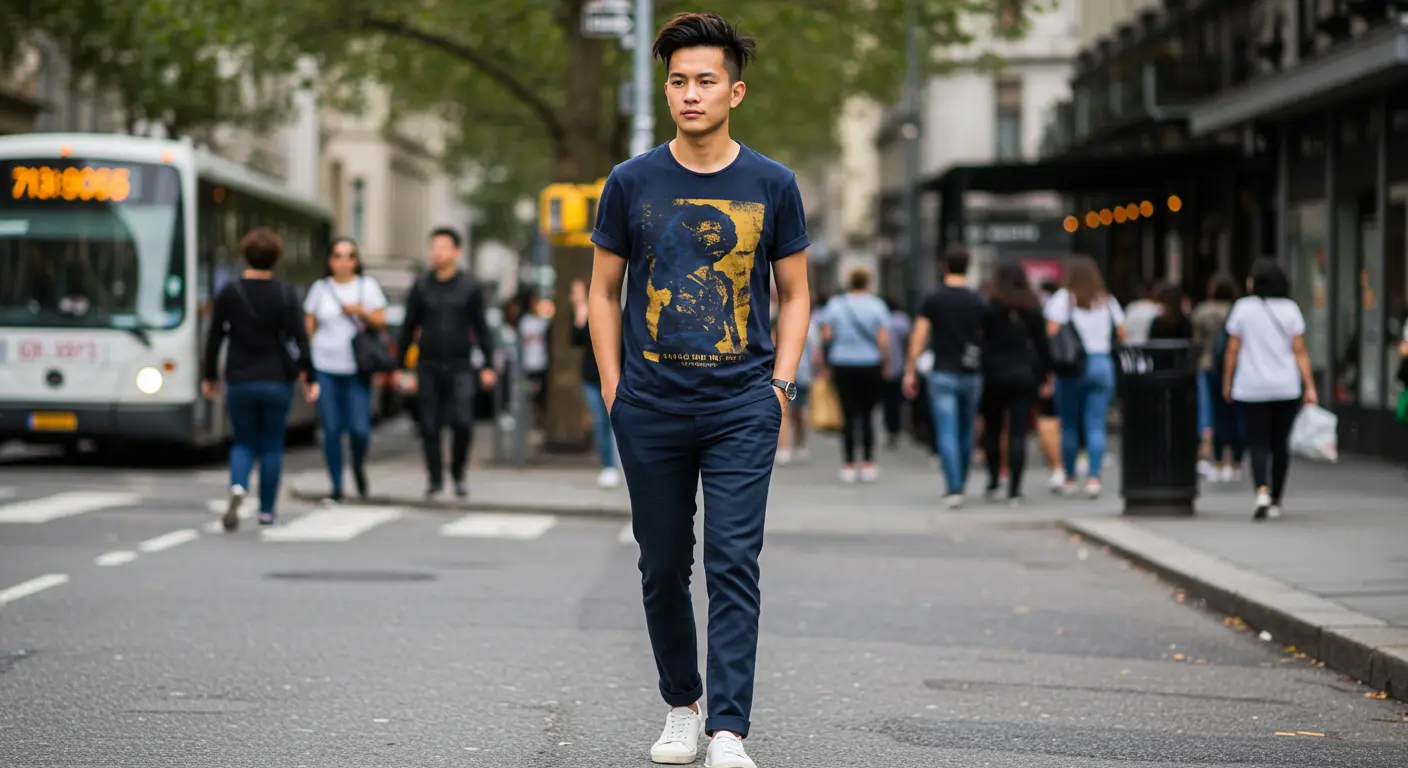
When planning to print T-shirts, whether it’s for your team, a sports league, or a group of volunteers, getting the right design and placement is essential.
A well-thought-out graphic can make custom shirts not only functional but also eye-catching.
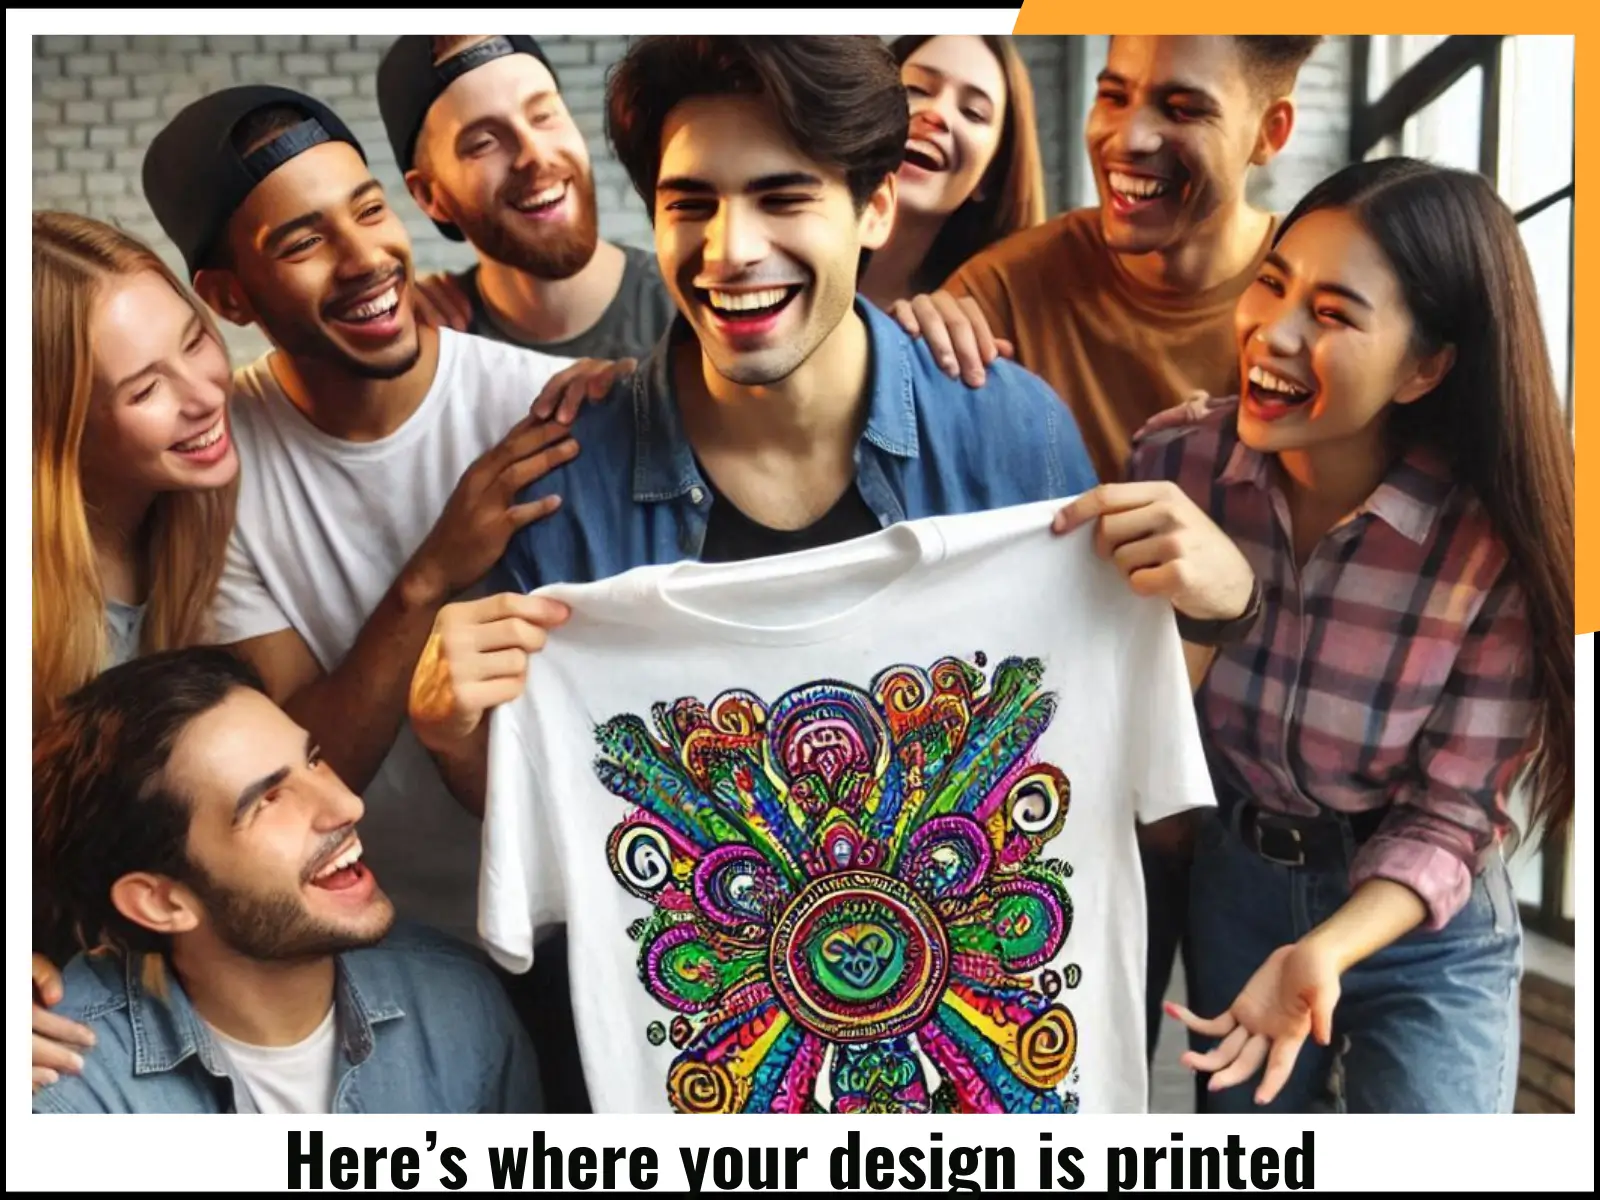
Here’s where your design is printed
From band jerseys showcasing intricate artwork to team uniforms with names and numbers, each print tells a story.
Screen-printing offers an opportunity to enhance logo clarity and keep the size proportionate to the chosen placement, whether it’s a full front, top back, or pocket design.
For those in fashion stores or hosting winter-themed events, experimenting with long sleeve prints can create a trendy look.
Even something as subtle as a small logo on a short sleeve can balance simplicity and style.
By focusing on specific details like ensuring the album cover stands out in the middle or aligning text neatly across the chest, every project can reflect its unique purpose.
Having worked on retail store projects, I’ve seen how impactful well-placed artwork can be, whether for non-profits, restaurants, or casual wear.
Ensuring the printing process caters to the client’s vision is a rewarding experience for both professionals and those stepping into this creative space for the first time.
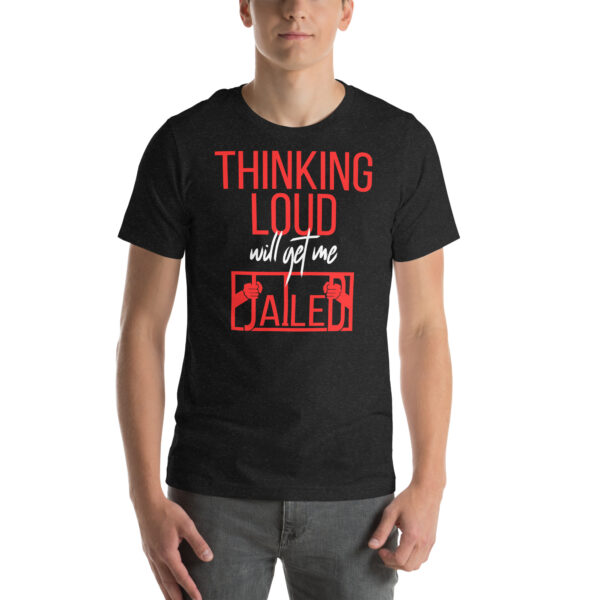
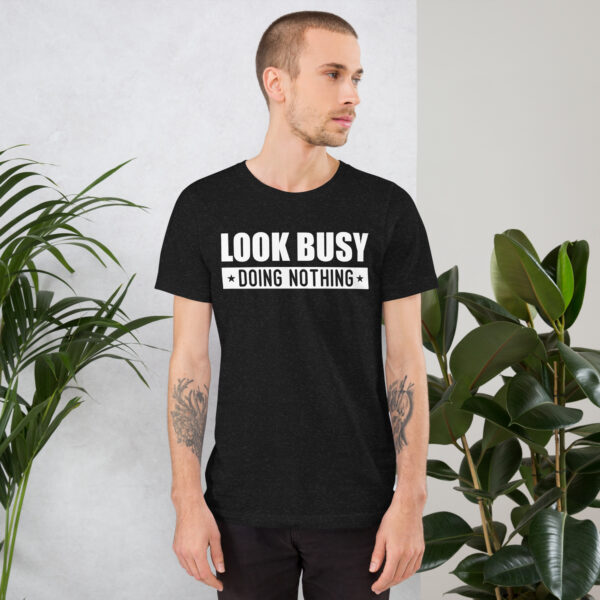
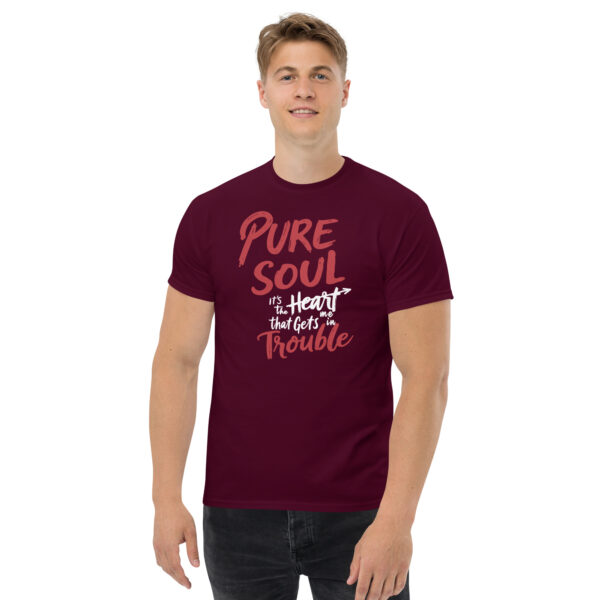
Full Front & Full Back
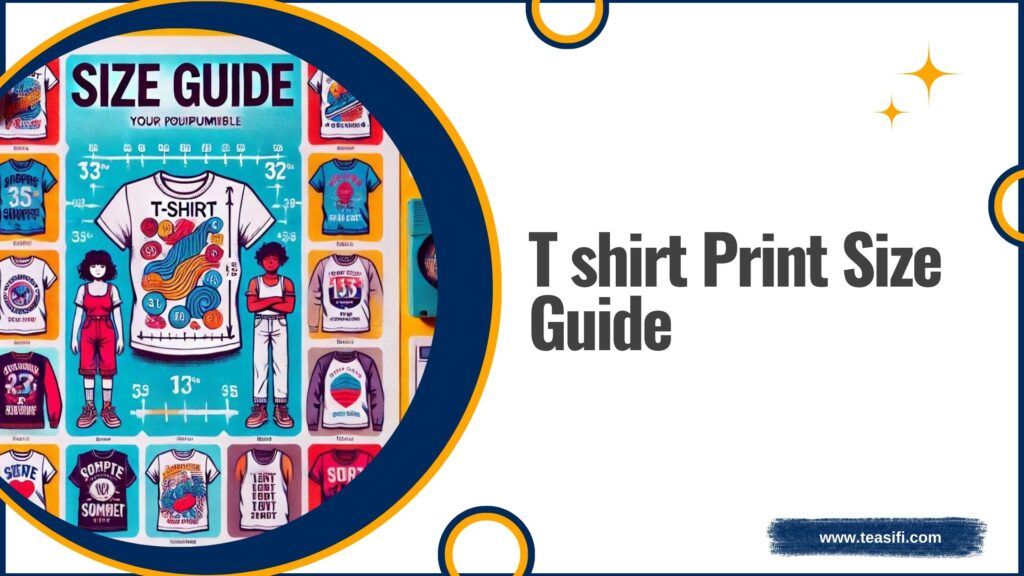
When printing graphics on t-shirts, achieving the right image size is crucial for adult men’s, adult women’s, and youth clothing.
For the full front or full back, use a tape measure to position the design 2 to 3.5 inches below the collar.
Aligning the center line with the chest line ensures perfect placement for professional-looking custom shirts every time.
Across the Chest & Top Back
Printing across the chest or on the top back requires precise measurements.
Start by marking key points with a finger from the collar and the middle of the left sleeve and right sleeve.
Align your design between these marked areas for a balanced and polished look.
For pocket printing, measure the vertical reference line from the shoulder to the armhole, and mark the horizontal reference line just below the armhole.
Place the design neatly within this area for a clean, professional appearance.
Short Sleeve
Printing on short sleeves requires centering the graphic while ensuring the color peeks through on all sides, including the top and bottom.
Standard image size for adults is 4” x 3” and 3” x 2” for youth, making it easy to tailor designs to fit perfectly.
Long Sleeve
For long sleeves, the ideal size for the graphic is between 2.5” x 14” and 3.5” x 15.”
Start the design about a finger down from the shoulder and avoid extending it to the wrist to maintain comfort and visibility.
Onesie
Even babies can enjoy fun custom printing on their onesies.
Depending on the garment size, adjust the image size appropriately, from 3” x 3” for 0-3 months to 8” x 8” for 24 months, ensuring the design fits perfectly on the tiny garment.
More Shirt Printing Tips
When planning the perfect custom t-shirt, selecting the right size for your design is crucial.
Whether you’re using screen-printing or heat transfer, each imprint method can achieve vibrant results with the right ink and color combination.
For a dark t-shirt, opt for lighter shades like white, lavender, or sky blue, while light t-shirts pair beautifully with darker colors such as black, navy, or maroon.
Full color printing is ideal for colorful designs, offering unlimited possibilities for school, band, or company apparel.
If texture is your goal, embroidery on t-shirts, jackets, or even beanie hats can add a stylish touch.
Quality Logo Products ensures a cost-effective approach to bring your ideas to life.
When choosing a print size, keep in mind that suggestions like scale and placement significantly impact how awesome your shirts will look.
Rely on these tips to craft unique and visually appealing apparel for any occasion.
FAQS
Q1: What is the best size for a t-shirt print design?
The best size depends on the placement and purpose of the design. Common sizes include 12×16 inches for full front or back designs and 3×3 inches for chest or pocket designs.
Q2: What’s the difference between screen-printing and heat transfer?
Screen printing uses ink pressed through a stencil, making it ideal for larger orders, while heat transfer applies designs using heat and pressure, better suited for smaller batches.
Q3: Can I print a design with multiple colors?
Yes, full color printing allows for unlimited ink colors, perfect for vibrant, detailed designs on t-shirts.
Q4: Is embroidery better than printing for t-shirts?
Embroidery is a durable option with a textured, high-quality look, ideal for logos and smaller designs, but it may not be suitable for intricate or colorful artwork.
Q5: How can I choose the right colors for my t-shirt design?
For dark t-shirts, opt for lighter colors like white or sky blue; for light t-shirts, darker shades like black or navy work best for contrast and visibility.
Q6: Can I print on areas other than the front or back of a t-shirt?
Yes, you can print on sleeves, pockets, or even collars to create unique and stylish designs.
Q7: What is the most cost-effective method for printing t-shirts?
Screen-printing is often the most economical choice for large orders, while heat transfer or embroidery may be better for smaller runs or specific design needs.