Think out might want to print your own shirt at home? At home, you will have two DIY tshirt printing options to pick from, screen printing and iron on transfer.
Keep reading to find out about screen printing for custom t-shirts and other products. Sweatshirts and tote bags are also effective.
Step By Step Instructions
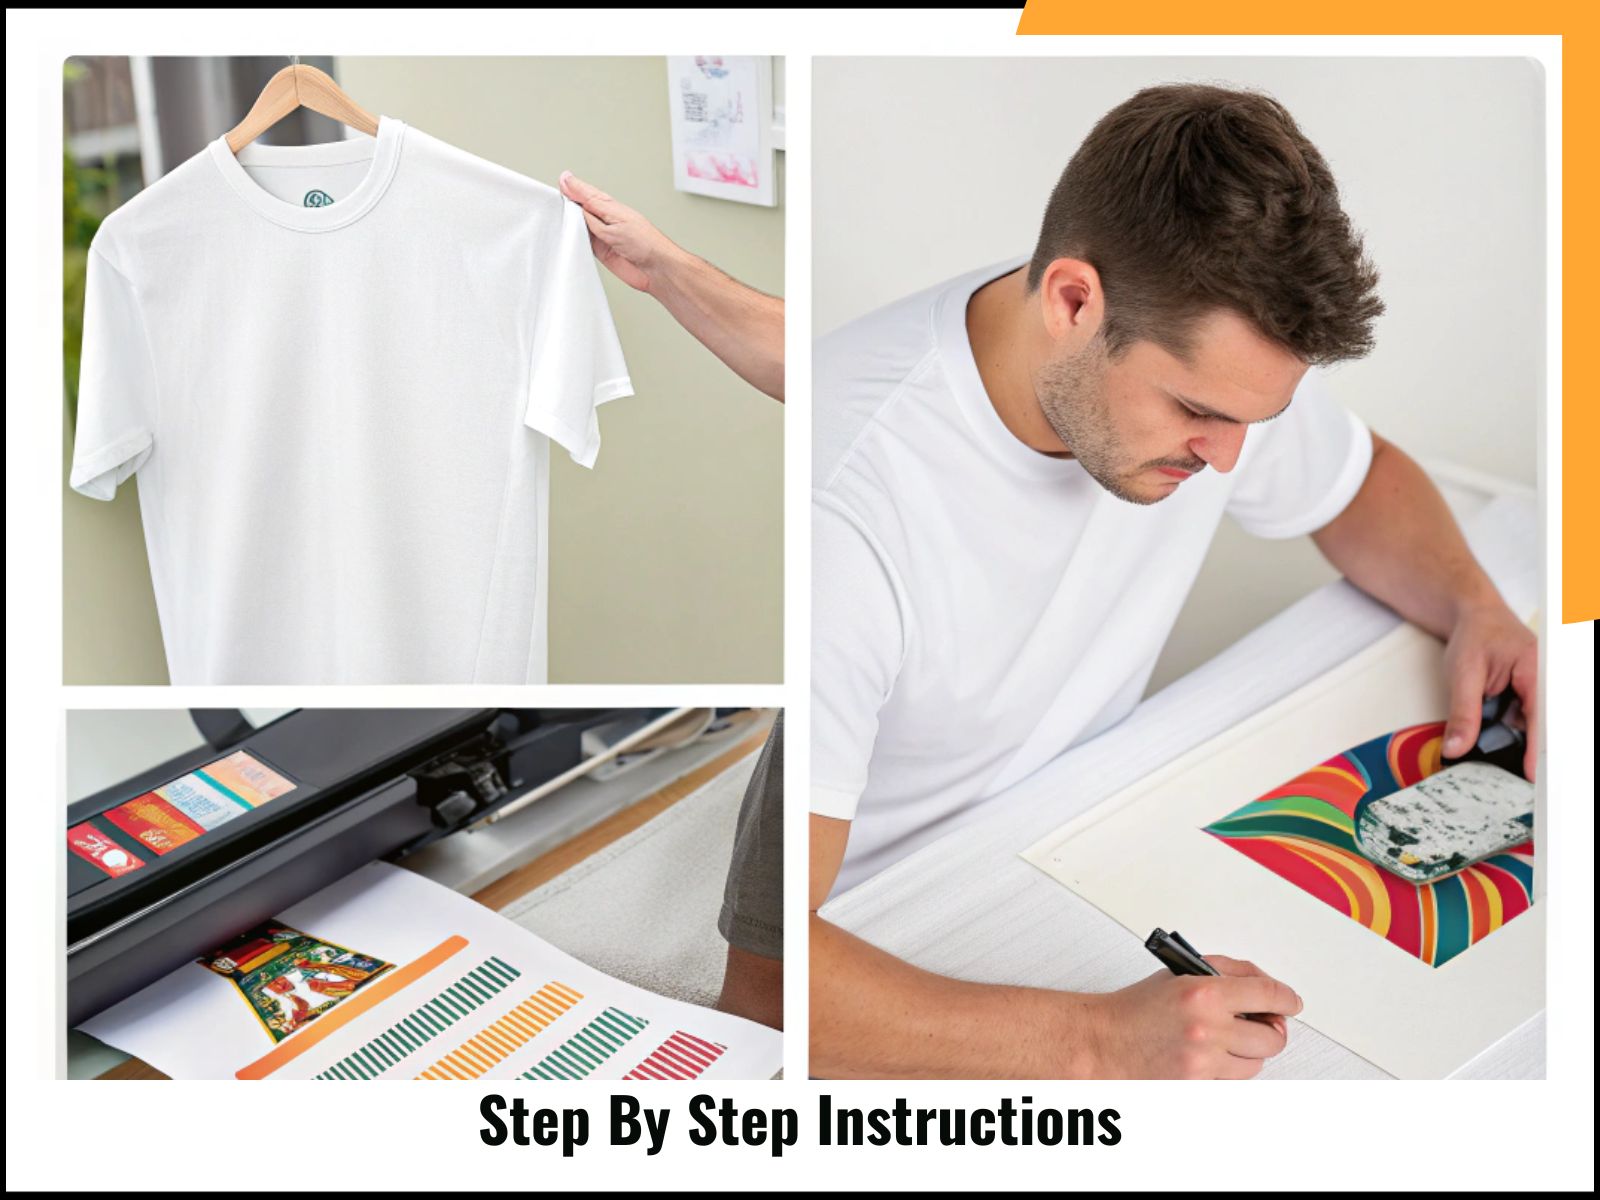
Pick The style
Pick a basic, one color design and generate a simple black and white photo of it. For a precise print, the screen shows a clear image.
There is no requirement for your initial picture to be black and white. One could make it suitable using Microsoft Word, Photoshop, or another software with image editing features.
Print The Picture On A Clear Sheet
The picture should be transferred onto a see through sheet so that only the design shows on the screen.
Clear transparency sheets can be purchased from an office supply store or acetate paper intended for screen printing can be used.
Transference To A Printing Screen
Buy the contents of a screen printing kit or just one such kit.
Dress into gloves.
Put a garbage bag down to work on and store the screen where it is not preferred to be placed unprotected.
Using a squeegee to apply a thin, even coating over the full surface, paint both sides of the screen with photo emulsion.
Cover the screen with so much emulsion that the screen is indiscernible.
Screen Burning
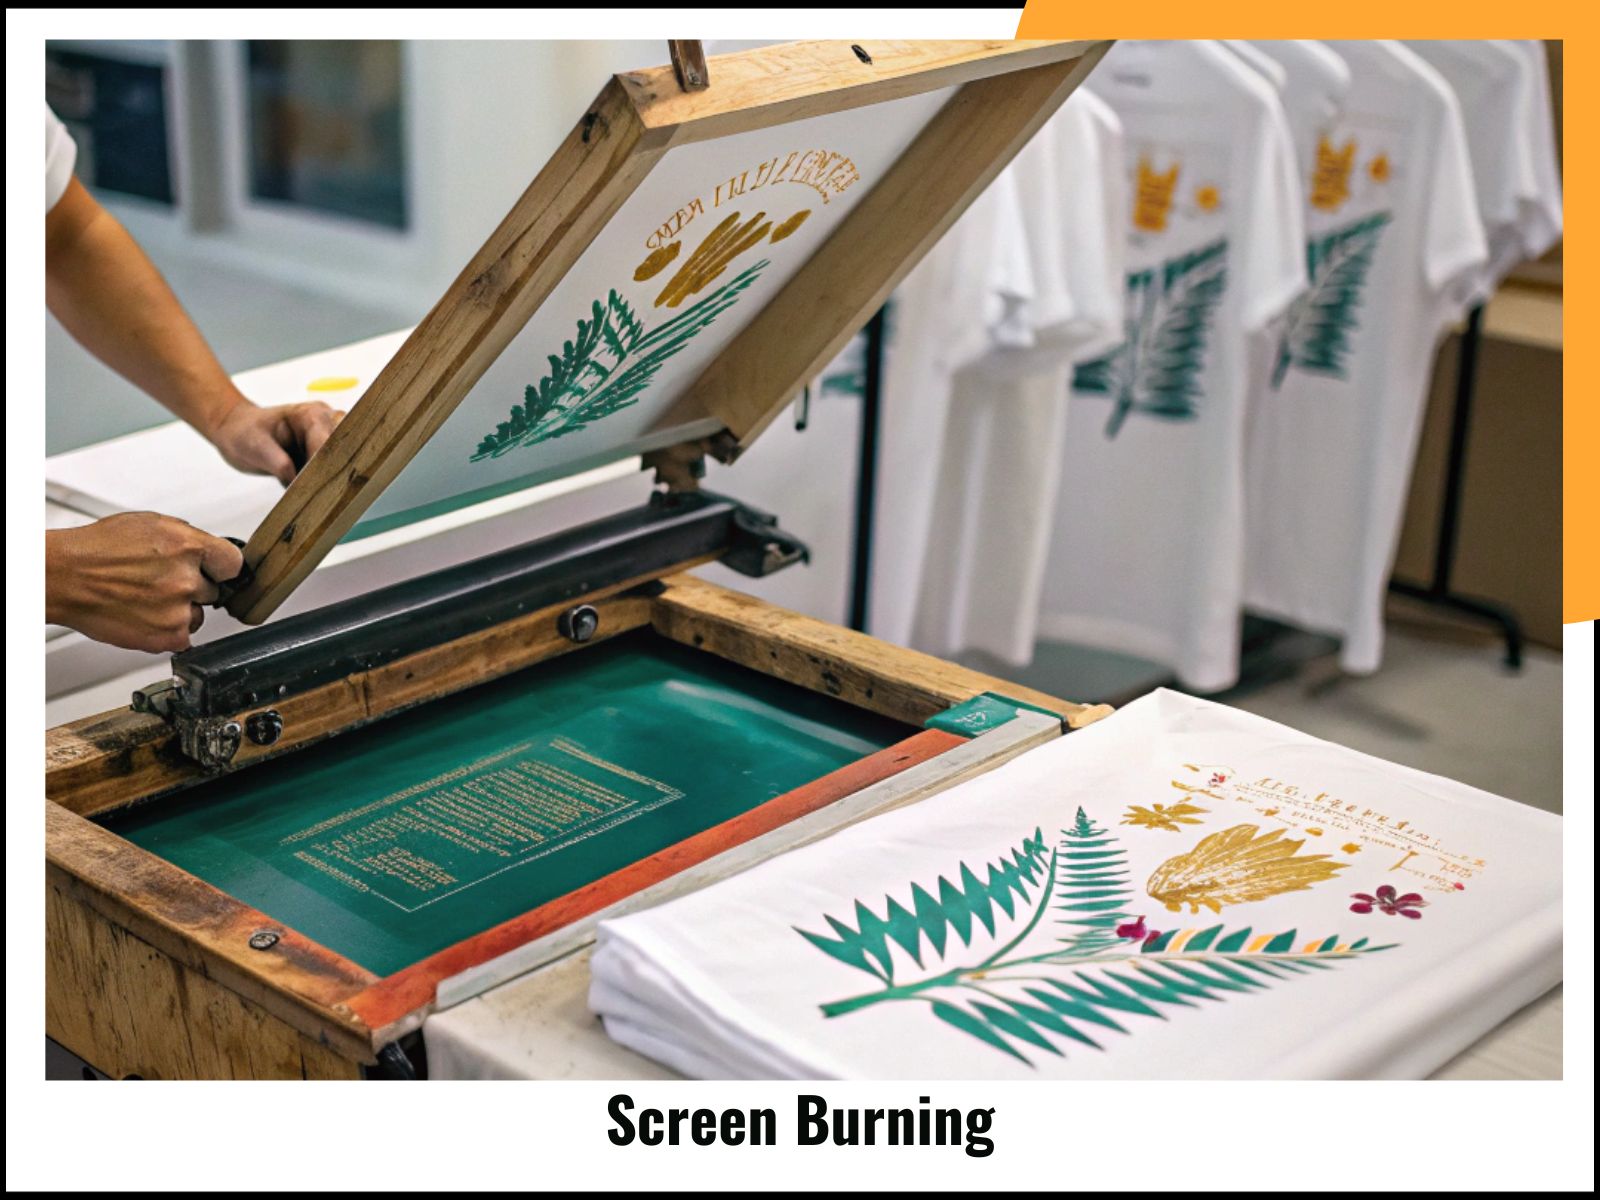
Let the screen rest in a chilly dark room for a few hours to dry.
While you wait, gather the materials for the next stage. If you bought a full kit, you should have these or a substitute for them.
A black cloth or trash bag, the transparency image, a sheet of glass, Lucite, or Plexiglas, and some cardboard or other flat material you do not wish to use will be required.
Arrange these things in a “sandwich” from bottom to top: cardboard, black fabric, screen, transparency, glass.
Place a brilliant light over the screen. This may come from a 150 watt incandescent light, a photoflood bulb, or direct noon outdoor sunlight.
Should you have bought a kit, it might have come with a great light.
It is absolutely necessary when the exposure occurs.
Too little exposure might allow the stencil you are making to wash off the screen while too much exposure may burn the entire paper into the screen.
Depending on the brightness of the light, it can take anything from 2 to 90 minutes.
Direct noon sun can incinerate the design properly in somewhere from 2 to 6 minutes.
One way to tell when the design is burned onto the screen is when the emulsion has turned from green to a boring, deep grey.
Rinse The Monitor
Take the screen off the glass and clarity, and clean it with an outdoor hose or a closet, whichever is closer.
Apply a strong current of cool water for a few minutes. Only the stencil you have created of your design should remain; everything else should disappear.
If your first try falls apart—whether your design fades off or some undesirable residue has been burned in—use emulsion remover to clean the screen and start afresh.
Investigation
First run with an old shirt or piece of fabric to get some practice on something you don’t have crassel before attempting to print your own t shirt.
Printing
Put cardboard or some other nonporus compound inside the shirt to help the front of it stay inkless.
Next, apply some screen printing ink over the screen and use a squeegee to spread it down the screen to create a small thickness. Repeat this many times to guarantee your design is straight and parallels.
Raise the screen from the tshirt without pulling it on the garment.
Heat It
You will have to iron the design into the shirt on a warm, dry setting, unless the ink in your screen printing kit states otherwise, for it to be permanent and washable.
Some sun exposure can help some inks produce the same effect.
Congratulation
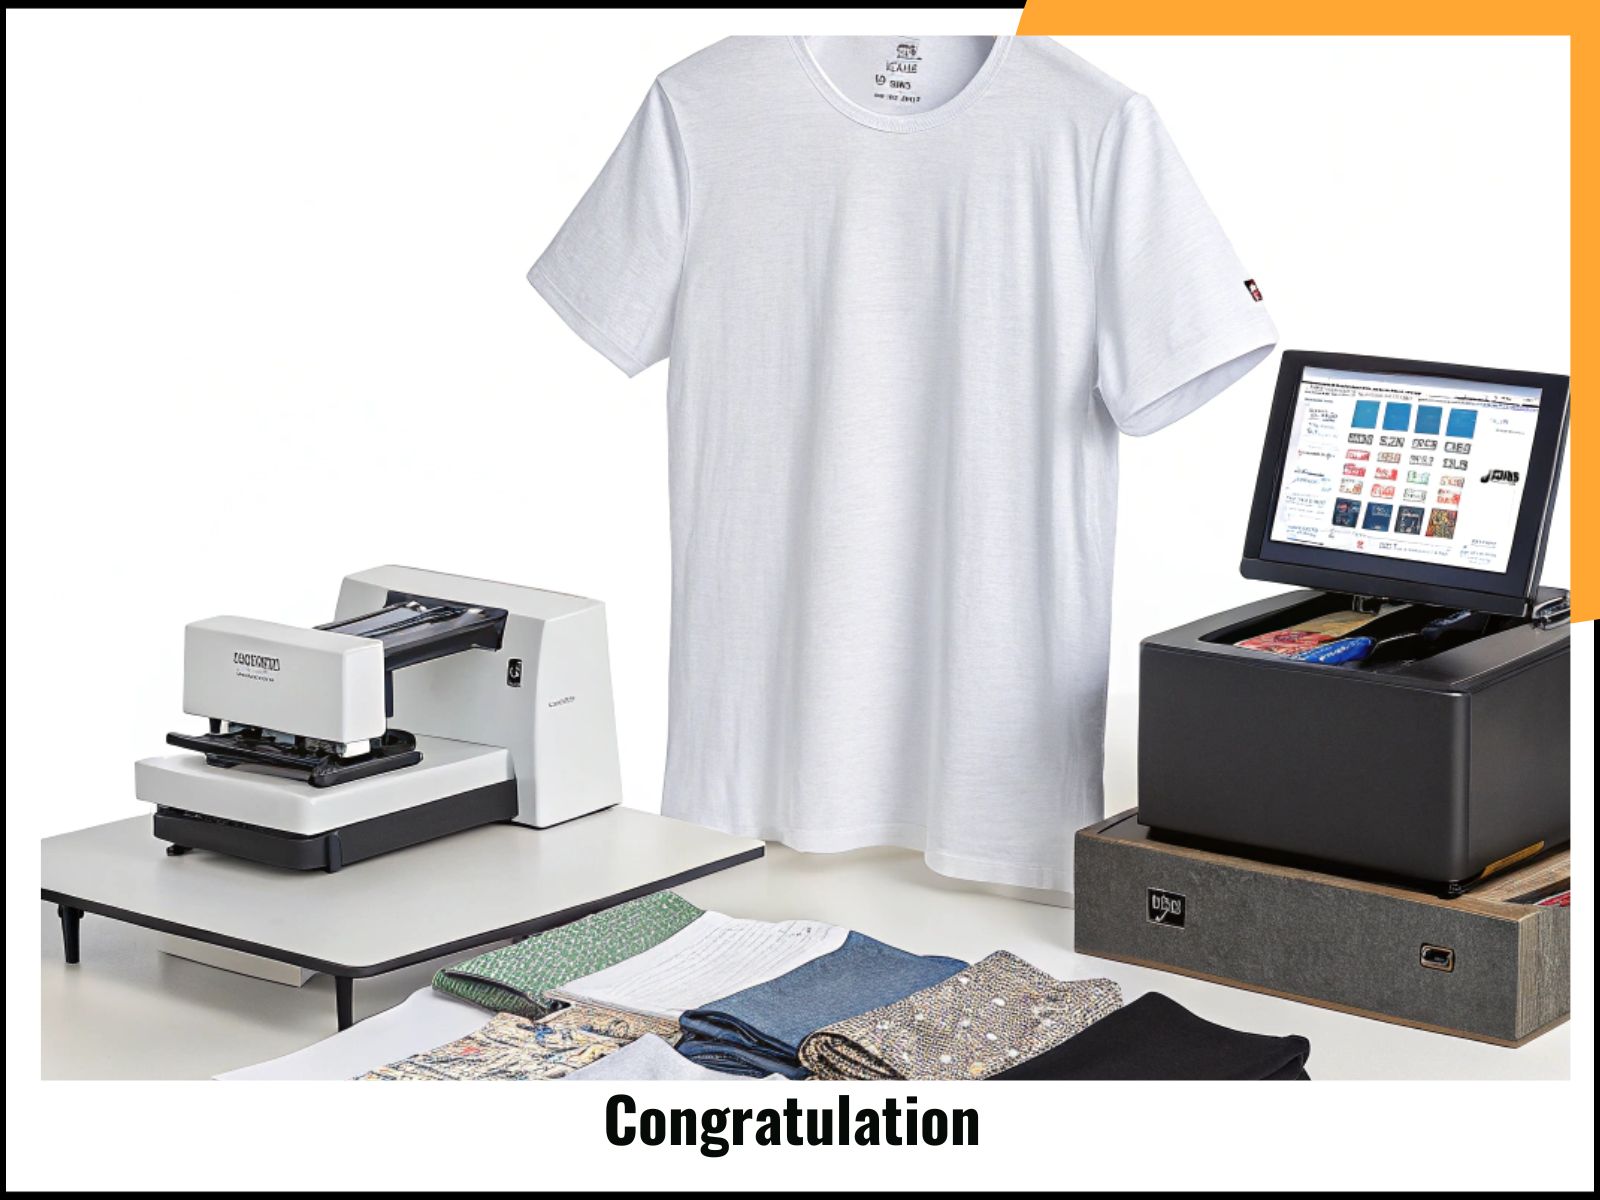
Your t shirt is ready to wear; you can use this screen to effortlessly produce numerous tops and other objects with this same design as frequently as you could need to print your own t shirt.
Bonus Shot
Though it will make things much more challenging for a beginner, one could reasonably take a more complicated design with many colors and decompose every color into its own screen as a professional would.
Trying to print your own tshirt with a several color design will result in several ruined shirts before you finally produce one correctly.
Pro & Cons Of Using Screen Printing To Print Your Own T-Shirt At Home
Pros :
The screen can be used as many times as you want.
Printing your own t shirt gives you a more creative feeling.
Screen printed patterns last longer than those ironed on.
Cons:
For first or onetime usage, screen printing is more complex.
One has to use compounds; others prefer to skip chemicals whenever possible.
Conclusion
Screen printing is a great way to print your own t-shirt at home, offering durability and a professional look. While the process requires some setup and practice, it allows for multiple prints with the same design, making it a cost-effective option for repeated use.
Whether you’re experimenting with a simple one-color design or challenging yourself with multi-color prints, screen printing gives you creative freedom and long-lasting results.
While it may take a few tries to perfect the technique, the ability to produce high-quality custom apparel makes it a rewarding DIY project.
FAQ: How To Print Your Own T-Shirt With Screen Printing
Q1:How do I screen print my own t-shirts at home?
To screen print your own t-shirts at home, you’ll need a screen printing frame, a stencil, fabric ink, a squeegee, and a plain t-shirt. The process involves applying ink through a mesh screen onto the fabric using a stencil to create the design.
After printing, heat-setting the ink ensures durability. This method is great for custom designs, small business branding, and DIY projects.
Q2: What materials do I need for DIY screen printing?
For DIY screen printing, you’ll need:
- A screen printing frame with mesh
- Screen printing ink (fabric ink for textiles)
- A squeegee for spreading ink
- A stencil or emulsion for your design
- A plain cotton or polyester t-shirt
- A heat source (heat press or iron) to set the ink
Q3: Is screen printing better than heat transfer for t-shirts?
Screen printing is better for durability and long-lasting designs, as the ink bonds directly to the fabric, making it resistant to washing and fading.
Heat transfer is easier for small runs but may peel or crack over time. If you’re printing in bulk or want a high-quality, professional look, screen printing is the best choice.
Q4: How long does a screen-printed t-shirt last?
A well-printed screen-printed t-shirt can last for years if properly cared for. Screen printing ink is designed to withstand multiple washes without fading or cracking, making it more durable than many heat transfer prints.
Always wash inside out in cold water and avoid high-heat drying to extend the print’s life.
Q5: Can I screen print on dark-colored t-shirts?
Yes, you can screen print on dark t-shirts, but you’ll need an underbase layer of white ink before applying other colors. This helps the design stand out and prevents colors from getting absorbed by the fabric.
Using high-opacity inks also improves the print quality on dark fabrics.
Q6; How much does it cost to start screen printing at home?
Starting costs vary depending on whether you buy a full screen printing kit or individual supplies. A basic kit can cost around $100–$200, while professional setups can go up to $500 or more.
If you’re only printing a few shirts, the initial investment might be high, but for bulk printing, screen printing is cost-effective in the long run.
Q7: What’s the best ink for screen printing on t-shirts?
Plastisol ink is the most commonly used for screen printing because it provides vibrant, durable prints. Water-based inks are great for a softer feel and eco-friendly printing but may require more curing time.
The choice depends on the look and feel you want for your design.
Q8: Why is my screen print ink not sticking to the fabric?
If the ink isn’t sticking properly, it could be due to:
- Not applying enough pressure with the squeegee
- Using too little ink or improper ink type
- The fabric being too textured or coated
- Not curing the ink properly with heat after printing
Proper technique and ink selection are key to getting a long-lasting print.
Q9: Do I need a heat press for screen printing?
A heat press isn’t required, but heat setting is necessary to cure the ink. You can use an iron (without steam) or a heat gun to set the ink if you don’t have a heat press. However, a heat press provides a more even and professional finish.
Q10: Can I reuse a screen for multiple designs?
Yes, you can reuse screens, but you’ll need to remove the previous design using an emulsion remover. If you’re using a stencil instead of an emulsion, you can simply swap out the stencil for a new design. Reusing screens helps save money and resources.
Q11: Is screen printing good for small businesses?
Yes! Screen printing is ideal for small businesses because it allows for high-quality, long-lasting prints at a lower cost per unit when printing in bulk.
If you plan to sell custom t-shirts, investing in screen printing can be more profitable over time compared to print-on-demand services.